



Set up the field
The application adds two custom field types, and you choose between them when you create the field. There is no setting that switches one into the other afterwards.
| Field type | Holds |
|---|---|
| Work Item Selector (Single Select) | exactly one work item |
| Work Item Selector (Multi Select) | up to 100 work items |
The 100 limit is the Forge platform’s cap for a list field, not a choice. The picker loads a page at a time, and Load more work items appends the next page, so the full 100 is reachable without having to guess narrower search terms.
Create the field
- Open Settings, the gear icon at the top right, then Work items
- Select Fields in the left menu
- Select Create new field, at the top right
- Choose Work Item Selector, single or multi select, then name it
A description is optional. Which of the two types you pick is fixed for the life of the field. Name it for the relationship it records, because field names appear in JQL and in exports.
Configure the field context
The field exists now, but it offers nothing until it has a context. The JQL scope, the columns and the permission mode all live there.
- Open Settings, the gear icon at the top right, then Work items
- Select Fields in the left menu
- Find the field you created, then select the three dots beside it and Contexts and default values
- Select Edit custom field config
- Set the work item scope, and whatever else the field needs
The JQL scope is required. The columns and the permission mode are set on the same screen. See JQL scope and permission mode.
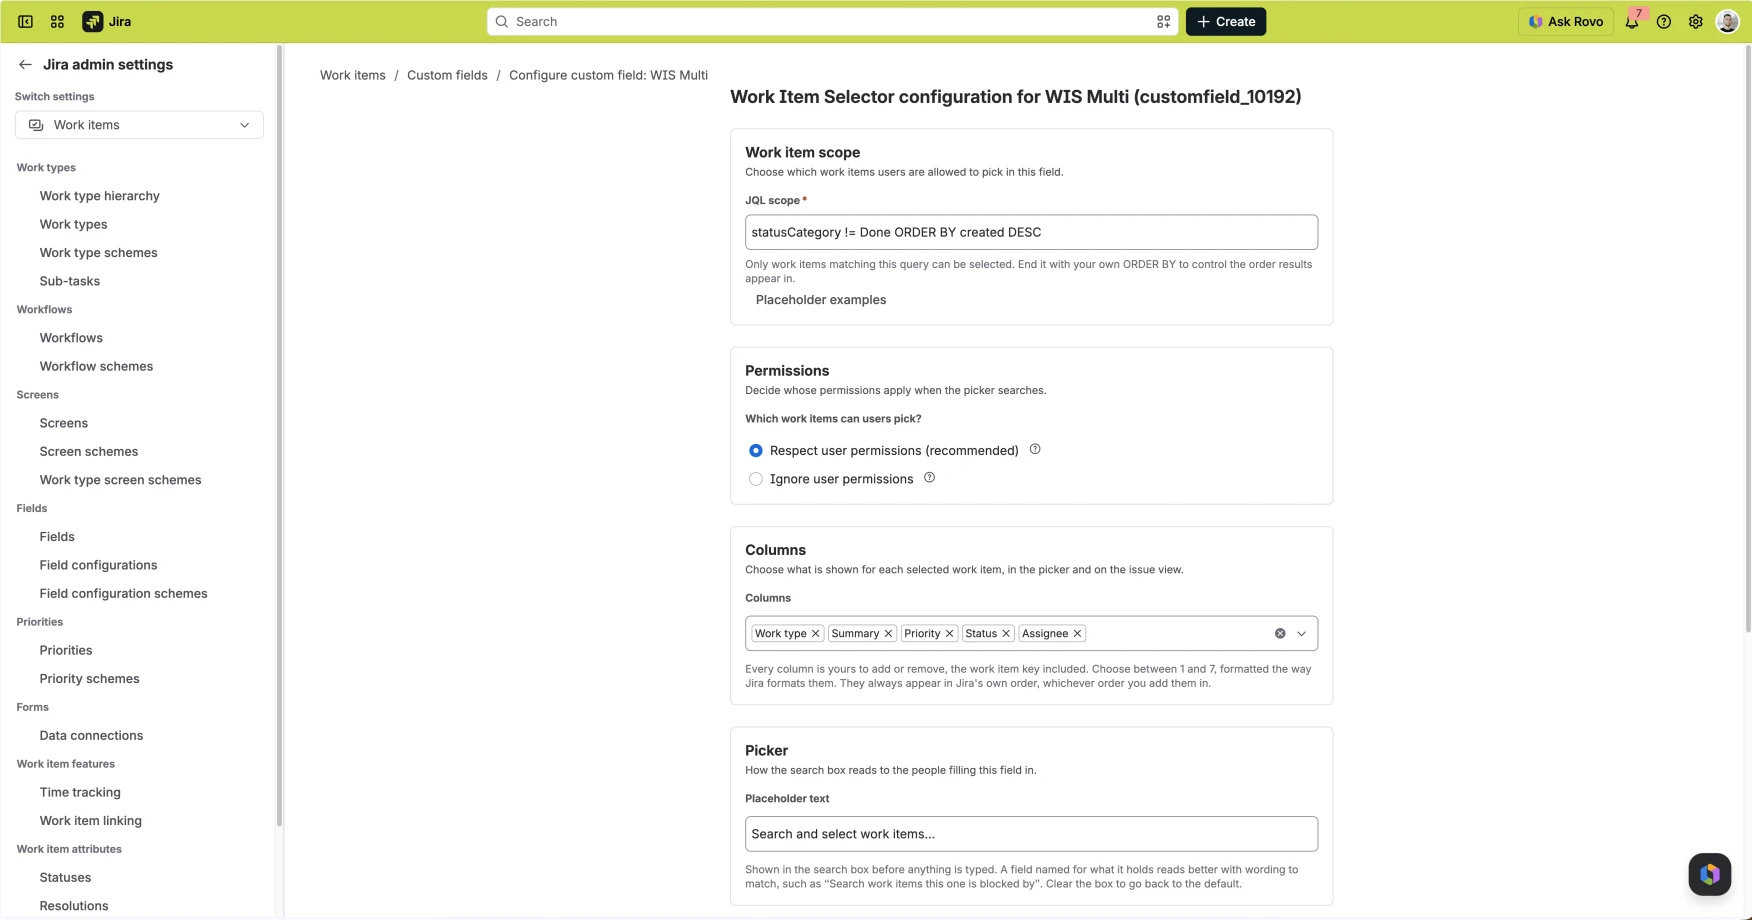
The configuration screen documents itself
At the bottom of the field configuration screen is a Knowledge base section showing how to use this particular field in automation rules, in filters and elsewhere. Every example there is written with the field’s own id, so it can be copied straight into a rule rather than adapted.
Put it on a screen
A custom field is invisible until it is on a screen. Add it to the screens used by the work types that need it.
- Open Settings, the gear icon at the top right, then Work items
- Select Work type screen schemes in the left menu
- Open the screen scheme used by the project you want the field in
- Select the screen scheme for the work item type that should carry the field
- Choose the relevant screen
A screen scheme either has one default screen or a separate screen per operation: creating, editing and viewing a work item.
- Search for your field, with Add the field to the field schemes of all projects using these screens selected
The field is on the work item once this is saved.
A screen is rarely used by only one thing
One screen can serve several projects, several work item types and several operations at once, so adding a field here can put it in front of people who did not ask for it. This is a Jira administrator’s job rather than a project administrator’s.
Columns
Between one and seven, all of them optional including the key. A new field starts with work type, key, summary, priority, status and assignee already chosen.
The card does not draw columns in the order you added them. Work type, key, summary, priority, status and assignee are drawn in that fixed order first, and any other field follows in the order it appears on the configuration screen. The order is fixed on purpose, so a work item reference is drawn the way the Atlassian design system draws one everywhere else in Jira. Each column is formatted the way Jira formats it: status as a category-coloured lozenge, story points as a board-style badge, priority and work type as icons, dates in the site’s own Look and feel format and the viewer’s locale, users as initials avatars up to three then a count, labels and components and versions as tags, and Assets objects resolved to their label.
When a card runs out of room the summary is what gives way. The key, status, priority and assignee stay whole.
Columns matter more than they look under IGNORE_USER, because they are the whole of
what a person sees of a work item they cannot open.
Test it as an editor
Open a work item, edit the field, and type three characters.
Under RESPECT_USER the results are the intersection of the JQL scope and what that
person can already browse. Under IGNORE_USER they are the scope alone, so test with
an account that has less access than yours: testing as an administrator tells you
nothing about either mode.
Related
A problem or a question? Write to support@oktul.com or open a request in the Help Center. Both reach the same service desk, so either way the request gets a reference and an SLA measuring the response.